I was having a really really tough day with my active and mischievous kids. Its always something they do or mess up that gets my temper up. Well of course it is always the tiny regret after the huge temper flare up, and it that got me thinking I am not doing much of what I enjoyed and that excited me. Baking.
And since we had ample supply of water (yea yea, water ration still affecting my area), I decided to give it a go, like immediately, pronto, on the spot!
I was going to be kneading and baking after like almost a year, so I gave myself a simple yet special recipe. I found the sound of honey buns really tempting here at the Happy Home Baking blog. I love the aroma and the subtle taste of honey, and I was sure the kids would enjoy it too!
Thankfully I had all the ingredients, however, I was a little worried about the instant yeast. I have a love-hate relationship with my yeast in the past, we have had trouble understanding each others needs, pun intended, yeast are live microorganisms, after all. At one occasion the yeast failed to understand that I needed it to rise the dough, and I failed to understand it needed to be activated. So at this occasion I had to make sure the yeast is activated before I plunge it into any kind of baking, unless I want to end up with a flat non rising dough.
Firstly, it was good to know that the instant yeast was well within the expiry date. Next I did the quick yeast activation, which will also show if the yeast is at all usable. I dilute some yeast into a glass of warm (not hot) water with some sugar. Stir it well and leave it aside. It is important to remember like any other culture, high temperature would kill the yeasts and they would never ever activate. Within 5 to 10 minutes you will see foam at the top of the mixture. If you leave it long enough it might just look like you are brewing your own beer.

Also another trick to tackling your yeast woes is to make sure every ingredient it at least room temperature and not chilled. With the yeast giving it a go, I was all set for the recipe below!
You Need
300g bread flour
4g (about 2/3 tsp) salt
4g (1 tsp) instant yeast
1 egg lightly beaten plus enough milk to make 200g
50g honey
30g unsalted butter
Method
1) Put the bread flour into a mixing bowl, mix with salt. Make a well in the middle with your fingers.
2) Mix the wet ingredients (activated) yeast, honey, milk and egg. Pour it into the well and use a spatula to stir the mixture till incorporated together.
3) Knead the dough, add some flour if too sticky. Finally add the butter and knead some more.
4) Once done, leave the dough in the mixing bowl, covered with a wet towel and let it proof for 60 to 90 minutes.
5) After first proofing, you can take the dough and shape it as you like, and leave it to proof for another 30 minutes, again with damp cloth covering it.
6) Give the buns a milk wash before putting it into a preheated oven at 200C for 15-20 minutes.

The final product:
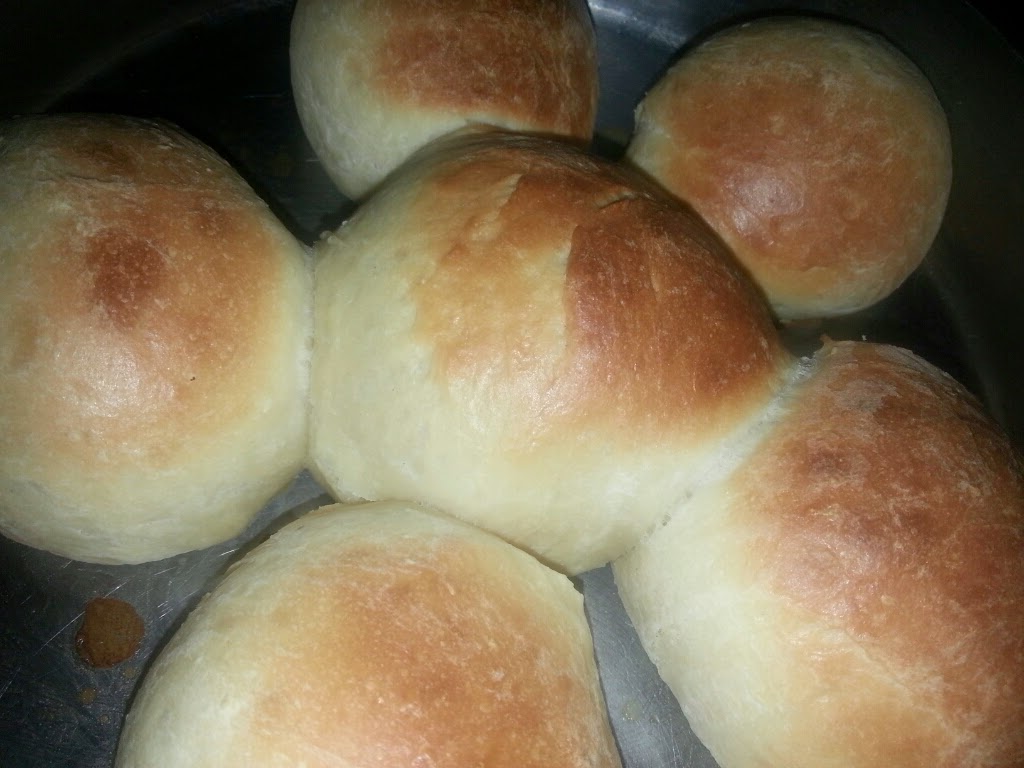
I was worried that the plain buns might be less appealing to my toddler audience, so I took the liberty to fill 3 of them with butter and brown sugar, and gave it a roll.

In case you are wondering, this is how the inside looks like:

These buns also mark a milestone in my bun making venture. For the first time my dough was able to pass the windowpane test, and it just feels awesome that I have still got it and more in me. Stay tuned for more bakings!
No comments:
Post a Comment